As a classroom teacher, I used SMARTBoards as they became available. But somewhere in the evolution of the SMARTBoard, I started using a Tablet PC. I've tried most of the different presentation software, but I still think the SMARTNotebook is the way to go.
There were some deficiencies with the SMARTBoard. In the early days, there were no short-throw projectors, so there would always be cords across the room. And I'd cast a big shadow across the board. Now, the newer boards ameliorate all these issues, but I still have to turn around and face the board (read: not my students) when writing on it.
So I really wanted a lectern. I wanted to face my students (and perhaps even be a little mobile). The technology these days really cater to that mobility. There are dozens of apps, devices, and workarounds to presenting (even wirelessly) in a classroom. I've seen it done with tablets, phones, computers, you name it. But it's nice to have a lectern to accommodate the device.
Truly, the lectern is the underrated home base of a mobile teacher. That's right. The technology I'm talking about is old school. This piece of technology allows the instructor to maintain eye contact with their students. And it provides a natural home to a computer, tablet, or notes. This post goes out to Erin Maney @ExpertlyMade, who inspired this lectern.
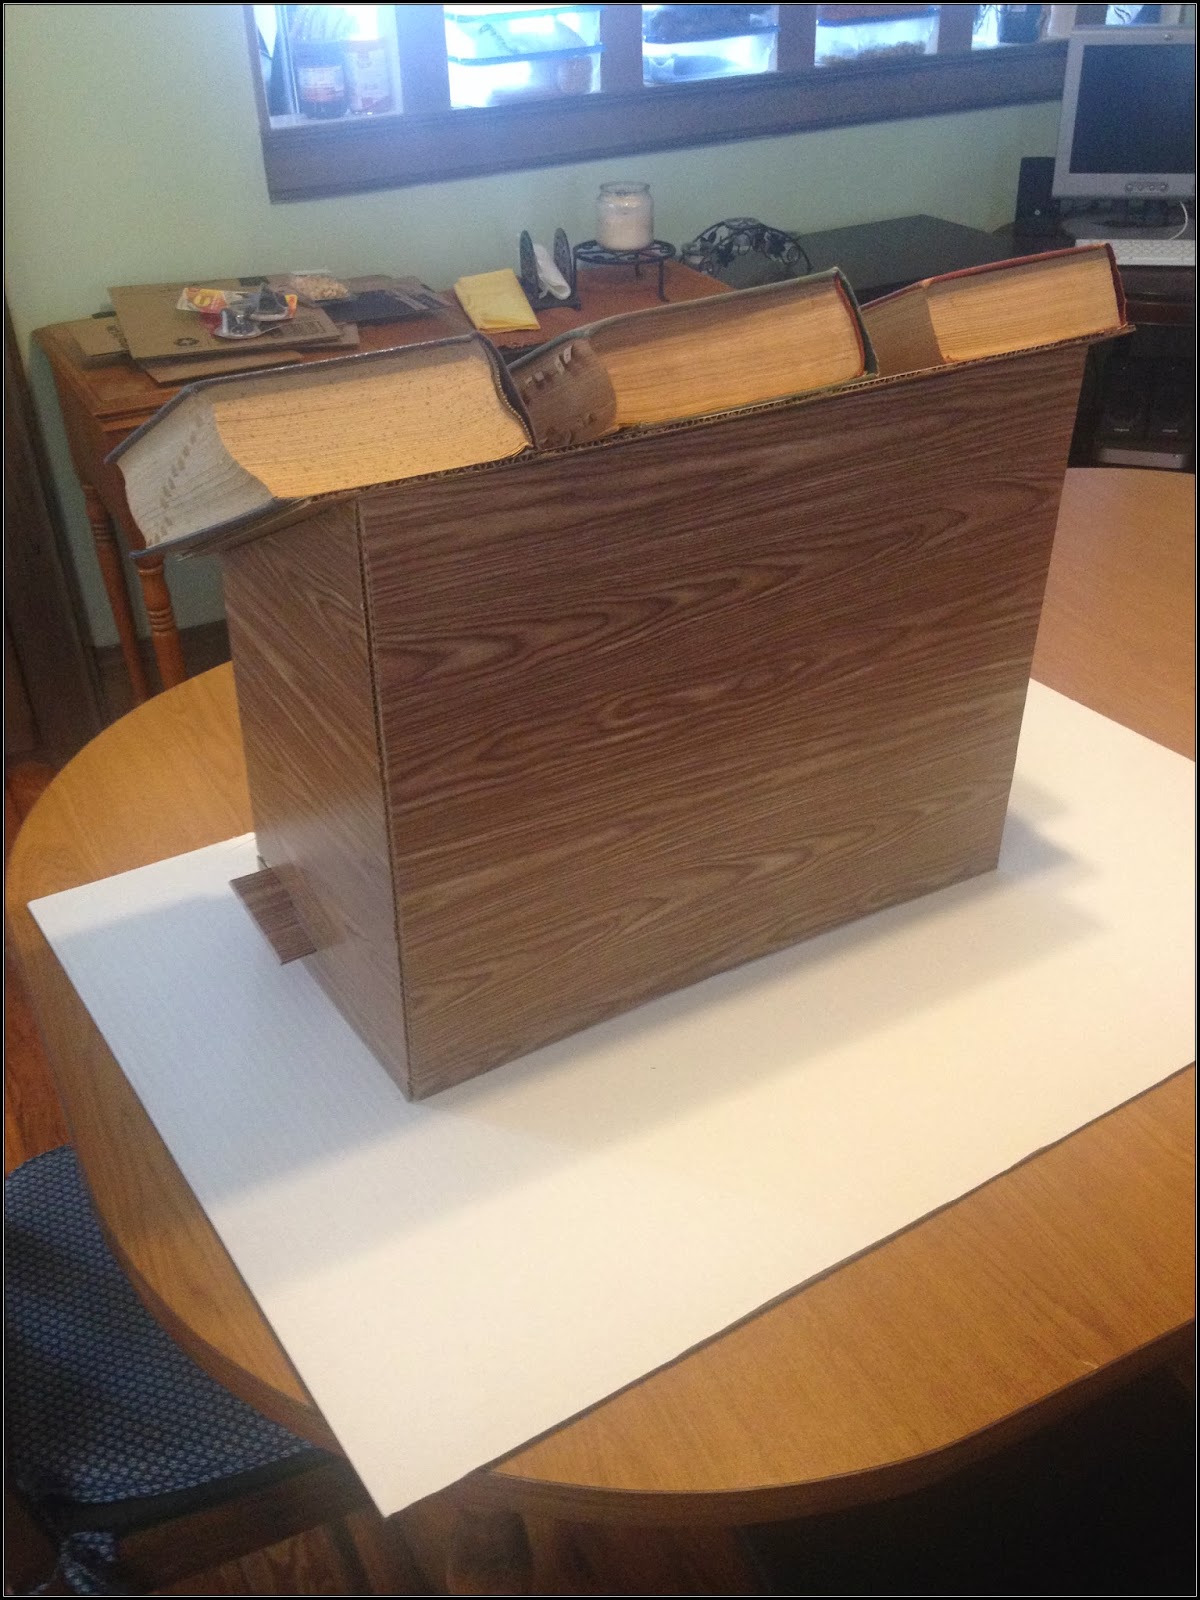
Over the years, I have developed numerous lecterns that are easy to make and fairly portable. I've included pictures at the end of the more robust versions (one is a desktop version, and one is full size). They are both made out of wood and some hardware, and did not take much to create. But the actual message today is on the ultra-portable one I just made. It has a total cost of about $20, weighs under a pound, and folds up to about 20" by 16". Here is the final product:
 |
| You, too, can make one of these for less than $20! |
 |
| Look at all those heavy books. |
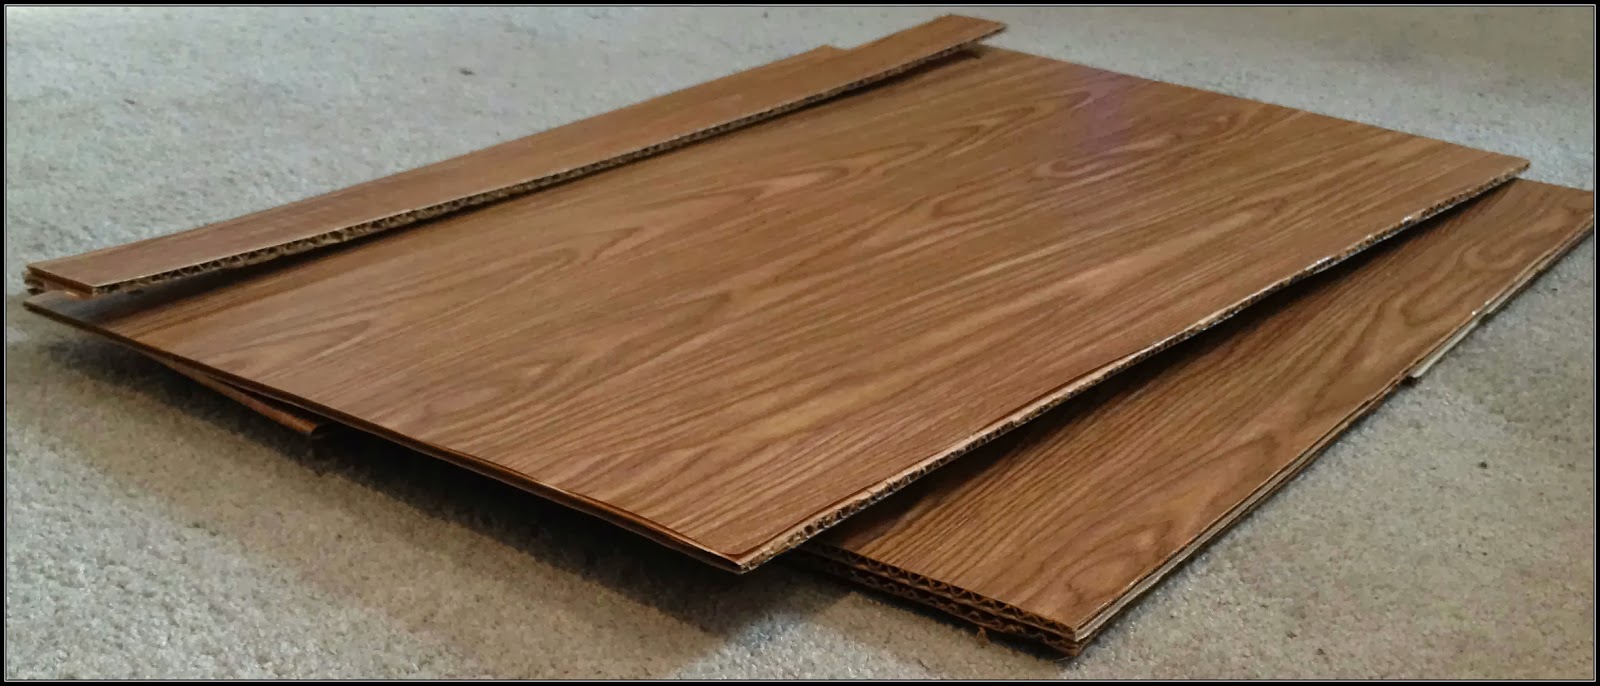
Folded up, the lectern is less than an inch tall:
 |
| Honey, I collapsed the lectern. |
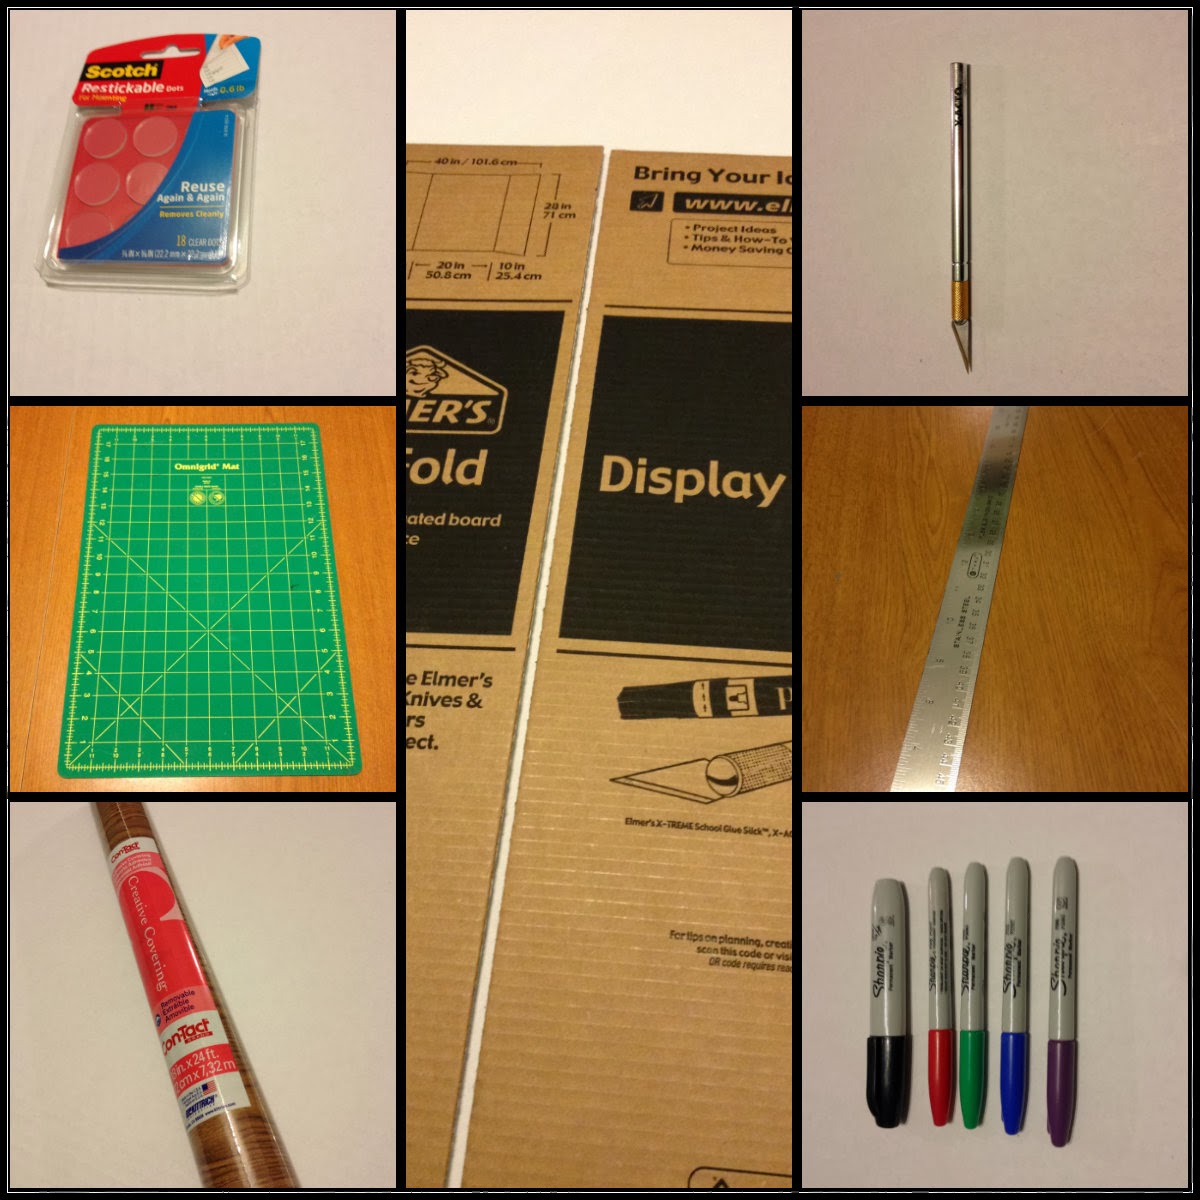
To make this lectern (by the way, it's certainly strong enough to hold any laptop that I've put on it), you'll need:
- X-ACTO knife (I prefer the "Z Series" - it's what I used for my Iron Man foam build)
- Spare blades (cutting through cardboard dulls the blades quickly)
- Cork-backed metal ruler (any straightedge will do)
- Sharpies (to draw lines)
- Elmer's display boards (2)
- I used the corrugated cardboard, but the foam ones should work just as nice
- Cutting mat
- Contact paper (if you want it to look sweet!)
- Scotch "Restickable Dots" (if you want to put some decorative logo on the front of the lectern)
- Incidentals (Elmer's glue, craft sticks, etc.)
 |
| I. Love. Office supply stores. |
The real secret here is the display board. When making lecterns, the hinge is always the trickiest part. In the wooden models (shown at the end of this blog), getting the hinges to work properly is irritating and the most labor intensive part. Enter the display board. The only downside is that you're locked in to prescribed widths (I made mine out of the 20" width, but I bought a 24" display board, too, just in case I needed extra pieces - which I did).
Next, I used a piece of cardboard from the second display board that I bought as the "working area" or "desk". I just trimmed it down to fit. I wanted it to extend a little beyond the width of the lectern.
I also traced one of the side supports onto another piece of scrap, so I had a support to put in the middle (a 20" span is too much; I wanted two, 10" spans). All three supports are the same size, and I notched the working area to receive the supports. I used the notches in the working area as a guide to where to notch the base support (gives more stability).
 |
| Ready to form lectern! Activate interlock! Dynatherms connected! Intracells, up! Mega-thrusters are go! |
It was at this point when I realized that there was a flaw in the plan - the base support is not sufficient. The lectern wanted to bow out, so I needed some way to tension the base support. So I re-notched the three supports in the following fashion:
 |
| Re-notched, and ready to go! |
Now, when assembled, the base board support falls into the newer, recessed slot. This locks the pieces together, so it becomes much more stable.
The last construction step was to create the shelf that the computer rests on. I just cut a strip of cardboard - about 1.5" wide - to the length of the working area. Then, I reinforced the back of it (I could have used a piece of scrap metal or a ruler or a piece of wood, but I just glued craft sticks onto the back).
 |
| Finally! A good use for craft sticks! |
The last step is just decorating. I opted for wood grain contact paper, but use your imagination! Working with the contact paper was easier than I thought it would be. I just used my X-Acto knife to trim it.
And that's it! The whole process takes between two and three hours. Perhaps Elmer's will start manufacturing these - they are very convenient if you are going out to run a training, and they are also useful to have in your classroom if you want a lectern for special occasions.
.png) |
| The official FringeEdTech Lectern. |
Below are photos of my wooden ones (plans available upon request).


It takes a teacher! Fantastic! Just what I was looking for!
ReplyDelete